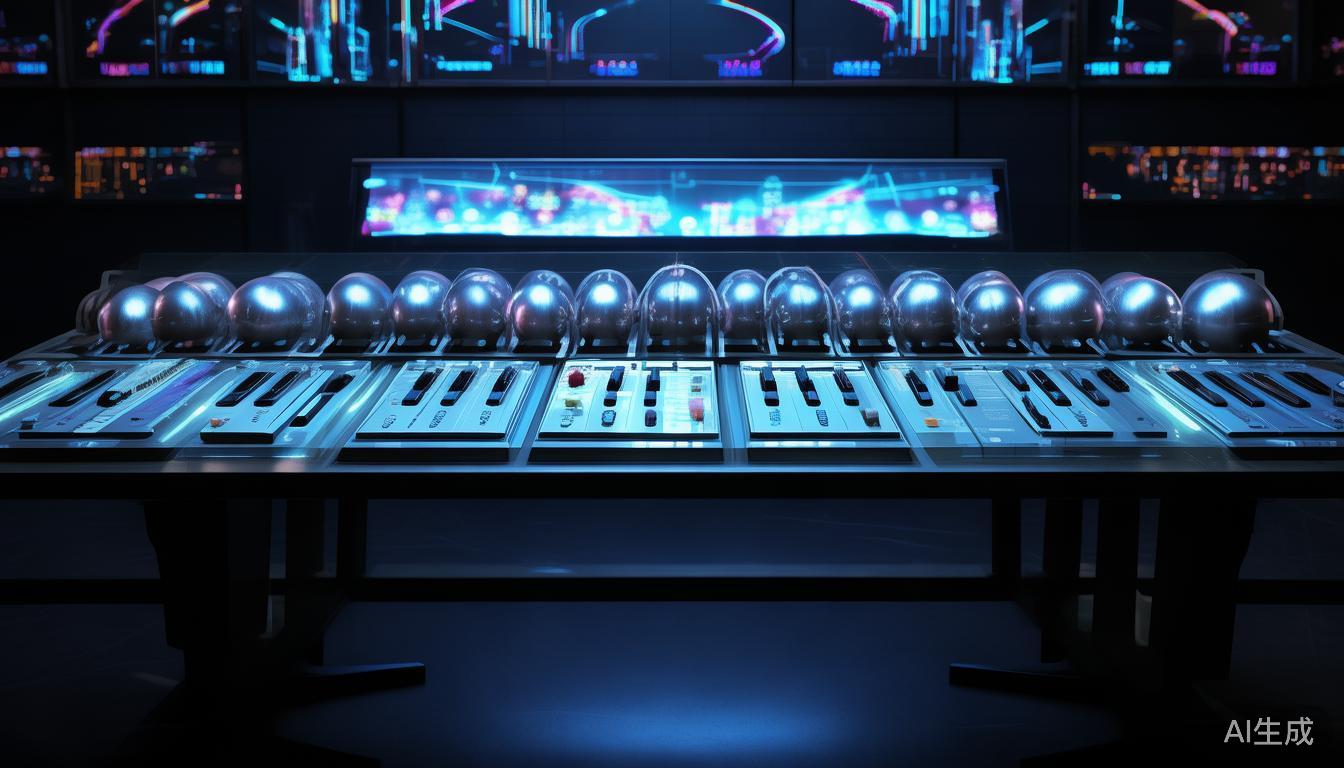
硬件的惊人简单性:从销售2,500台MIDI录音器中得到的启示
硬件开发的世界常常让人联想到复杂的电路图、晦涩的元器件以及数月如一日地辛勤工作。多年来,我一直身处MIDI录音器生态系统之中,设计、制造并销售帮助音乐家记录表演的设备。当我决定着手这个项目时,我预计自己将陷入一个深不见底的、技术性的深渊。然而,我发现,尽管硬件开发充满挑战,但它远没有我预想的那么令人望而生畏。以下是我从销售2,500台MIDI录音器中学到的经验。
硬件复杂性的迷思
在深入MIDI录音器开发之前,我和许多人一样,认为硬件是一项难以逾越的挑战。毕竟,软件开发通常更具抽象性,并允许仅通过软件进行迭代式测试。而硬件,在我看来,需要物理原型、焊接以及我仅能勉强触及的电子学深度理解。然而,这种观念在很大程度上是一个迷思。
当我开始设计我的MIDI录音器时,我专注于几个关键原则:简单性、可靠性和经济性。我的第一步是选择合适的元器件。尽管有无数选项,但我坚持使用文档齐全、广泛供应的部件。这种方法最大限度地降低了学习曲线,并减少了遇到意外问题的可能性。
元件选择:简单性的基础
选择合适的元件至关重要。在我的MIDI录音器中,我选择了一个功能强大且易于编程的微控制器(MCU)。该MCU的文档清晰,并且有大量教程可供参考。这与过去我需要花费数小时解读晦涩数据手册的日子形成了鲜明对比。
以下是我如何使用简单的MCU处理MIDI数据的示例:
#include <Arduino.h>

#define MIDI_IN_PIN 0

void setup() {
  pinMode(MIDI_IN_PIN, INPUT);
  Serial.begin(31250); // MIDI标准波特率
}

void loop() {
  if (Serial.available() > 0) {
    byte midiByte = Serial.read();
    // 处理MIDI字节
  }
}
这段代码从输入引脚读取MIDI数据并进行处理。Arduino框架的简单性使这项任务变得直截了当,即使对于硬件开发新手也是如此。
原型制作:迭代的关键
关于硬件的最大误解之一是它必须在第一次尝试时就完美无缺。这根本不是事实。原型制作允许迭代和改进。我从一个面包板开始测试我的电路设计。这使我能够在最终设计之前识别并修复问题。
例如,我最初在长距离传输MIDI数据时遇到了信号完整性问题。通过使用面包板进行原型制作,我能够调整我的接线并添加适当的终端电阻,以确保可靠的通信。
PCB设计:从面包板到电路板
一旦我对面包板设计感到满意,我就开始制作自定义PCB。这涉及使用像KiCad或Eagle这样的PCB设计软件。虽然这些工具的学习曲线并不平坦,但回报是值得的。一个设计良好的PCB可以显著提高硬件的性能和可靠性。
以下是一个简单MIDI录音器的PCB布局基本示例:
+-------------------+
|                   |
|  MIDI IN          |
|                   |
|  +-------+        |
|  |       |        |
|  | MCU   |        |
|  |       |        |
|  +-------+        |
|                   |
|  MIDI OUT         |
|                   |
+-------------------+
这个布局展示了基本元件:MIDI输入、MCU和MIDI输出。一个专业的PCB设计会包括额外的元件,如电容器、电阻器和电源稳压器电路,但这给出了一个简单性的概念。
制造:保持经济性
从销售2,500台MIDI录音器中,我得到的最大惊喜是制造过程的简便性。随着PCBWay、JLCPCB和OSH Park等服务的兴起,将硬件交付给用户从未如此容易。这些服务提供经济实惠的原型和小批量制造,使得个人和小团队将他们的硬件项目变为现实成为可能。
营销和社区:未被提及的英雄
虽然硬件开发的技术方面很重要,但营销和社区方面同样至关重要。销售2,500台MIDI录音器不仅仅是构建一个出色的产品;它还关乎与音乐家的联系和理解他们的需求。
围绕你的硬件项目建立社区可以带来巨大的回报。通过论坛、社交媒体和电子邮件与用户互动,你可以收集反馈并改进你的产品。这种反馈循环对于长期成功至关重要。
总结:硬件并不难
销售2,500台MIDI录音器的旅程教会了我,硬件开发虽然充满挑战,但远比许多人想象的更容易。通过专注于简单性、选择合适的元件、有效进行原型制作并利用经济实惠的制造服务,即使是小团队也能将他们的硬件项目变为现实。
关键启示在于:硬件开发并非一项无法克服的任务。有了正确的方法,任何人都可以创造创新且成功的硬件产品。无论你是音乐家、工程师,还是仅仅有人一个绝妙的想法,不要让硬件的感知复杂性阻碍你。从小处着手,频繁迭代,并创造一些令人惊叹的东西。
The Surprising Simplicity of Hardware: Lessons from Selling 2,500 MIDI Recorders
The world of hardware development often conjures images of complex schematics, esoteric components, and months of painstaking work. For years, I've been part of the MIDI recorder ecosystem, designing, building, and selling devices that help musicians capture their performances. When I decided to tackle this project, I expected to be plunged into a deep, technical abyss. Instead, I found that hardware development, while challenging, is far less daunting than I had imagined. Here’s what I learned from selling 2,500 MIDI recorders.
The Myth of Hardware's Complexity
Before diving into MIDI recorder development, I, like many, believed hardware to be an insurmountable challenge. Software development, after all, is often more abstract and allows for iterative, software-only testing. Hardware, I thought, required physical prototypes, soldering, and a deep understanding of electronics that lay just beyond my grasp. This perception, however, is largely a myth.
When I started designing my MIDI recorder, I focused on a few key principles: simplicity, reliability, and affordability. My first step was to choose the right components. While there are countless options, I stuck to well-documented, widely available parts. This approach minimized the learning curve and reduced the likelihood of encountering unexpected issues.
Component Selection: The Foundation of Simplicity
Choosing the right components is crucial. For my MIDI recorder, I selected a microcontroller (MCU) that was both powerful and easy to program. The MCU’s documentation was clear, and there were plenty of tutorials available. This was a stark contrast to the days when I had to spend hours deciphering cryptic datasheets.
Here’s an example of how I used a simple MCU to handle MIDI data:
#include <Arduino.h>

#define MIDI_IN_PIN 0

void setup() {
  pinMode(MIDI_IN_PIN, INPUT);
  Serial.begin(31250); // MIDI standard baud rate
}

void loop() {
  if (Serial.available() > 0) {
    byte midiByte = Serial.read();
    // Process MIDI byte
  }
}
This code snippet reads MIDI data from an input pin and processes it. The simplicity of the Arduino framework made this task straightforward, even for someone new to hardware development.
Prototyping: The Key to Iteration
One of the biggest misconceptions about hardware is that it must be perfect on the first try. This is simply not true. Prototyping allows for iteration and refinement. I started with a breadboard to test my circuit design. This enabled me to identify and fix issues without committing to a final design.
For example, I initially had trouble with signal integrity when transmitting MIDI data over long distances. By prototyping with a breadboard, I was able to adjust my wiring and add appropriate termination resistors to ensure reliable communication.
PCB Design: From Breadboard to Board
Once I was confident with my breadboard design, I moved on to creating a custom PCB. This involved using a PCB design software like KiCad or Eagle. While the learning curve for these tools is not trivial, the payoff is worth it. A well-designed PCB can significantly improve the performance and reliability of your hardware.
Here’s a basic example of a PCB layout for a simple MIDI recorder:
+-------------------+
|                   |
|  MIDI IN          |
|                   |
|  +-------+        |
|  |       |        |
|  | MCU   |        |
|  |       |        |
|  +-------+        |
|                   |
|  MIDI OUT         |
|                   |
+-------------------+
This layout shows the basic components: MIDI input, the MCU, and MIDI output. A professional PCB design would include additional components like capacitors, resistors, and power regulation circuits, but this gives a sense of the simplicity involved.
Manufacturing: Keeping It Affordable
One of the most surprising lessons from selling 2,500 MIDI recorders was the ease of manufacturing. With the rise of services like PCBWay, JLCPCB, and OSH Park, getting your hardware into the hands of users has never been easier. These services offer affordable prototyping and small-batch manufacturing, making it feasible for individuals and small teams to bring their hardware projects to life.
Marketing and Community: The Unsung Heroes
While the technical aspects of hardware development are important, the marketing and community aspects are equally crucial. Selling 2,500 MIDI recorders was not just about building a great product; it was about connecting with musicians and understanding their needs.
Building a community around your hardware project can be incredibly rewarding. Engaging with users on forums, social media, and through email allows you to gather feedback and improve your product. This feedback loop is essential for long-term success.
Takeaway: Hardware is Not So Hard
The journey of selling 2,500 MIDI recorders taught me that hardware development, while challenging, is far more accessible than many believe. By focusing on simplicity, choosing the right components, prototyping effectively, and leveraging affordable manufacturing services, even small teams can bring their hardware projects to life.
The key takeaway is this: hardware development is not an insurmountable task. With the right approach, anyone can create innovative and successful hardware products. Whether you're a musician, an engineer, or simply someone with a great idea, don't let the perceived complexity of hardware hold you back. Start small, iterate often, and build something amazing.